I decided not to use the poly subframe bushes I had bought, partially because the chassis mounted engine puts an additional 1/4 ton on the bushes, but also because I want to make the front end more rigid by running extra supports from the back of the subframe to the chassis rails where they kick up at the front of the floor pan. See page 5, near the bottom, for pictures of the brackets.
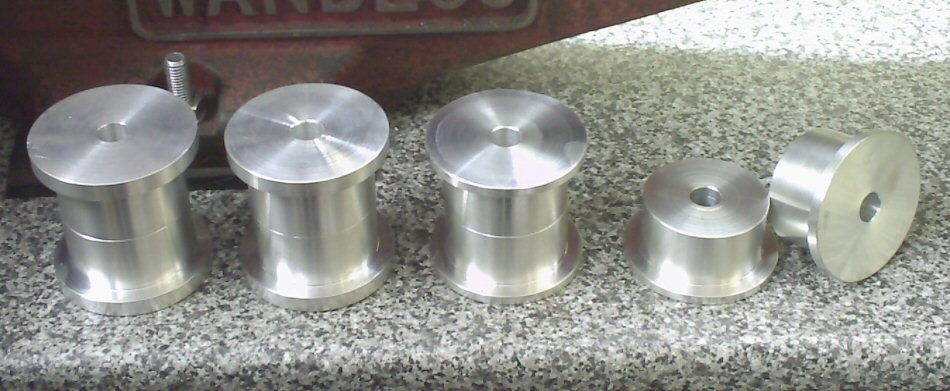
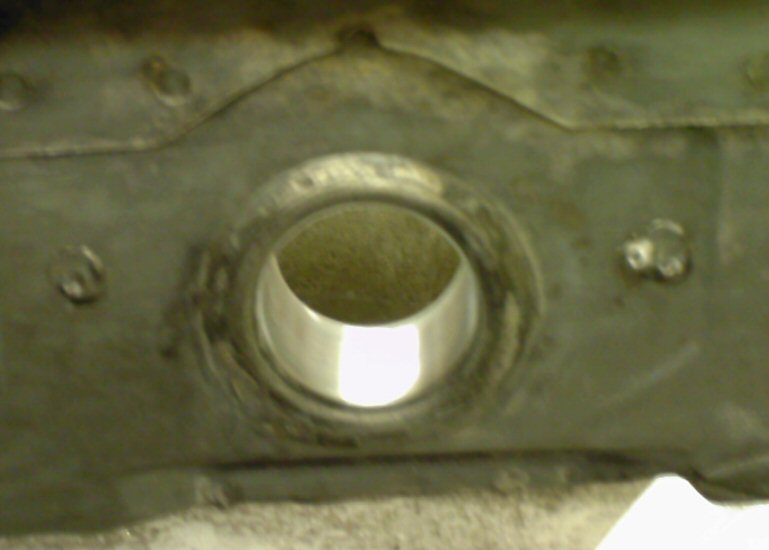
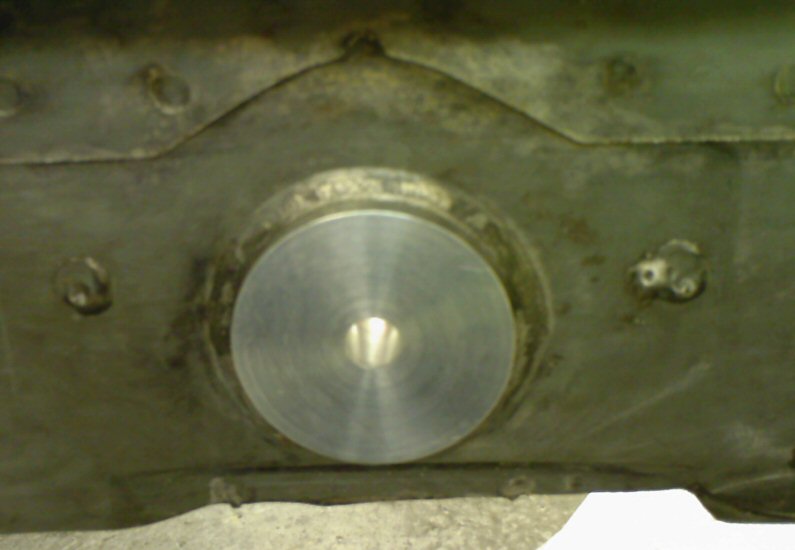
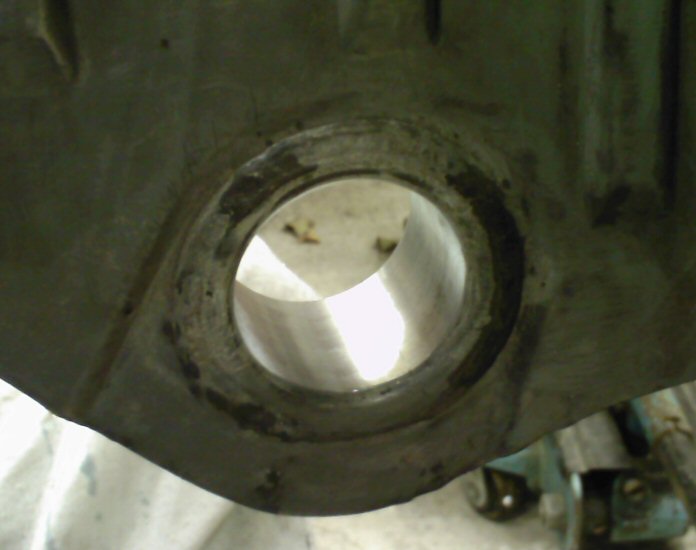
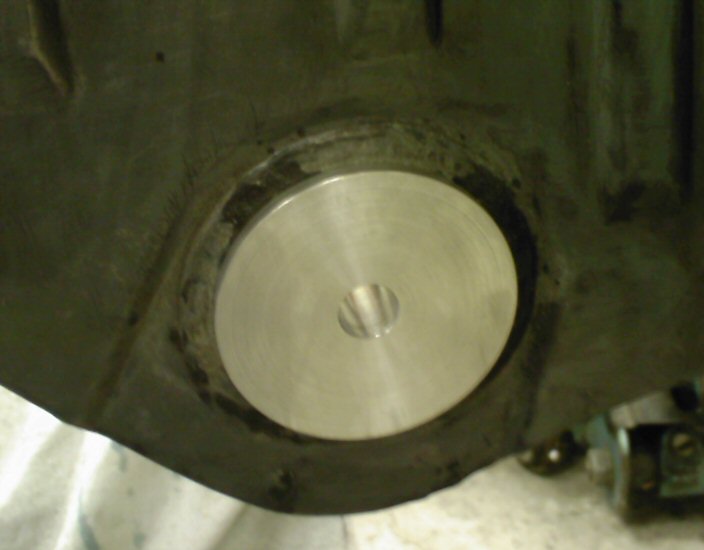
As a result, I ended up making a set of solid aluminium bushes instead.
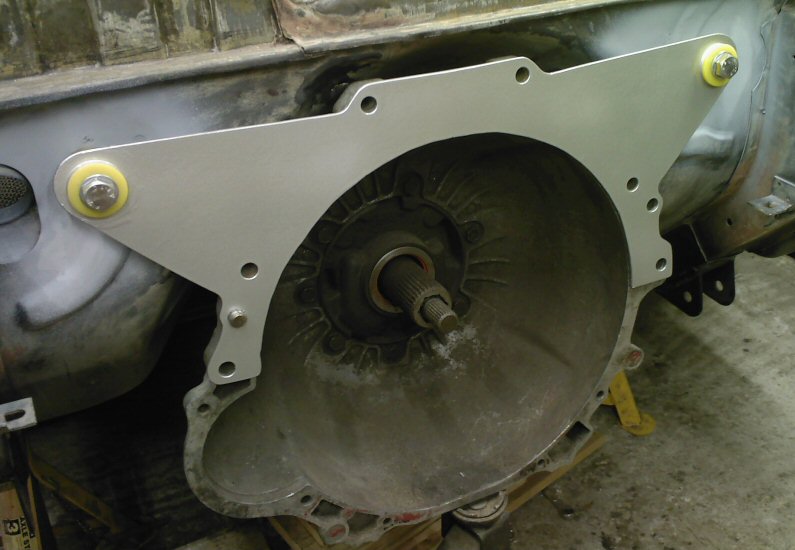
To take the load off the bell housing, and to take the torsional stress off the front chassis rails, a mid engine plate was made up out of 3mm steel sheet.
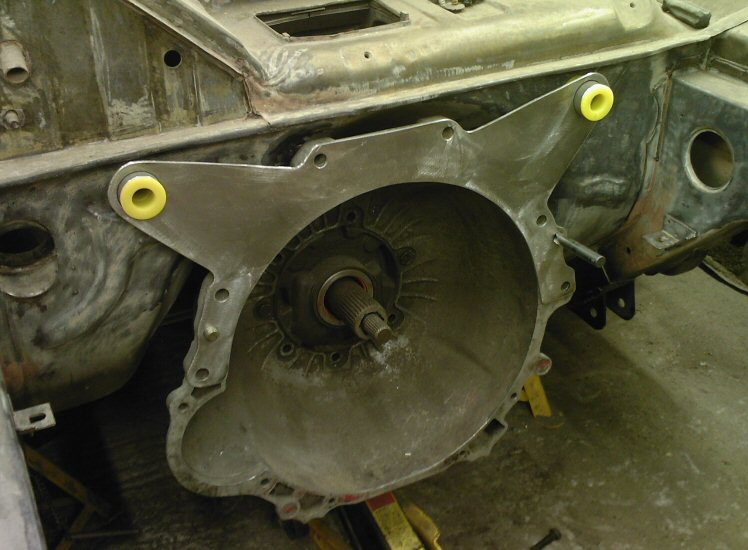
Unfortunately, I made a bit of a mistake with the mid plate, in that I never offered it up to the engine whilst designing it, and the bushes lined up with the cyliner heads, so a new one is needed.
In the meantime, I virtually finished the front plate, and the water pump housing. The water pump has had the snout, pulley, and impeller removed, as there is no room, and I will be running a remote electric pump.
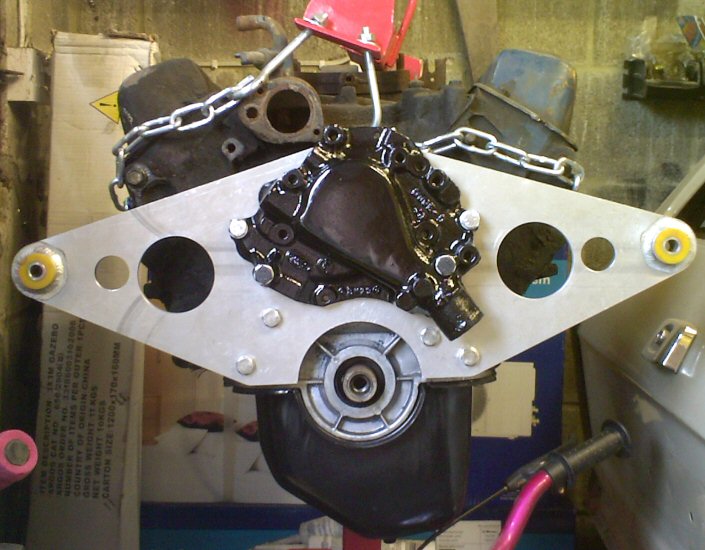
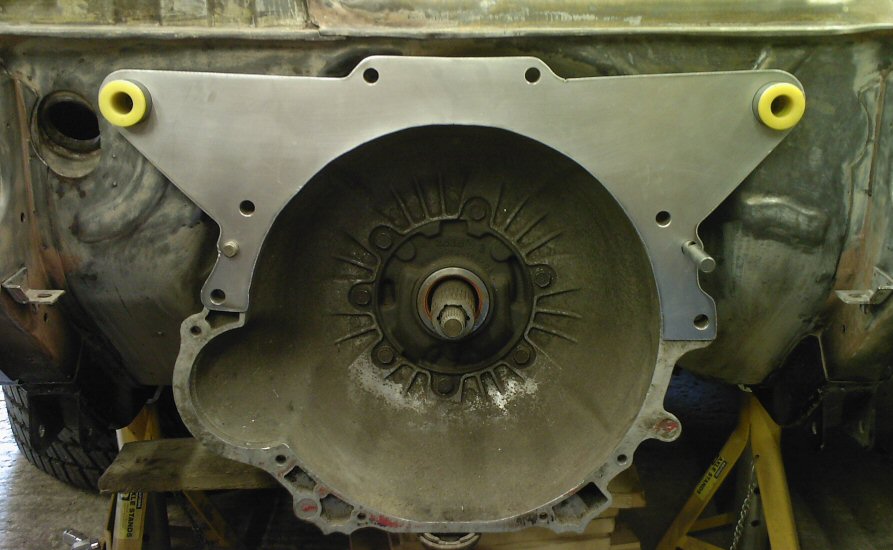
Mid engine plate, take two.
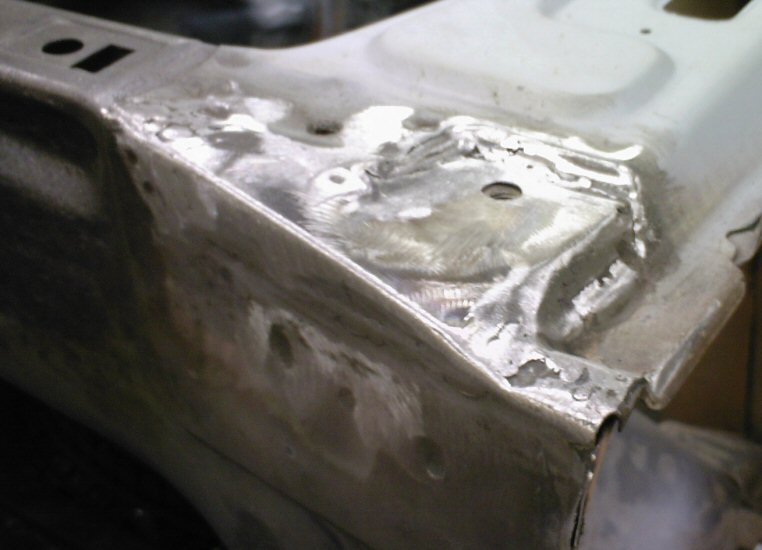
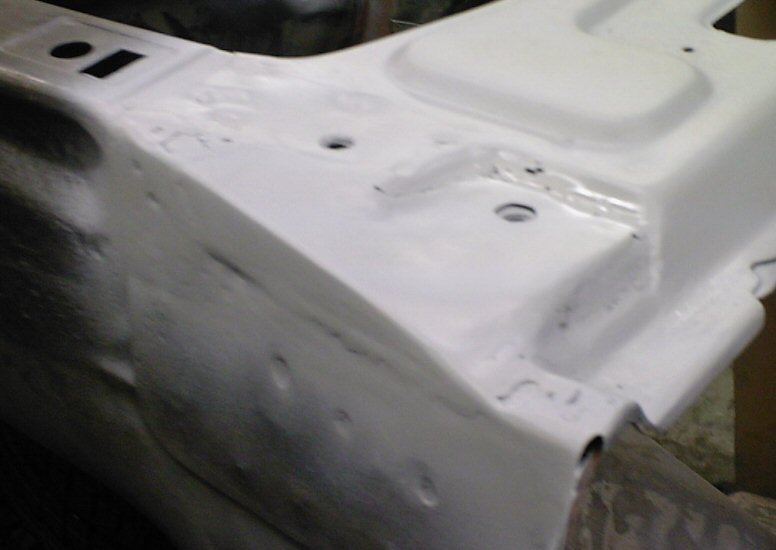
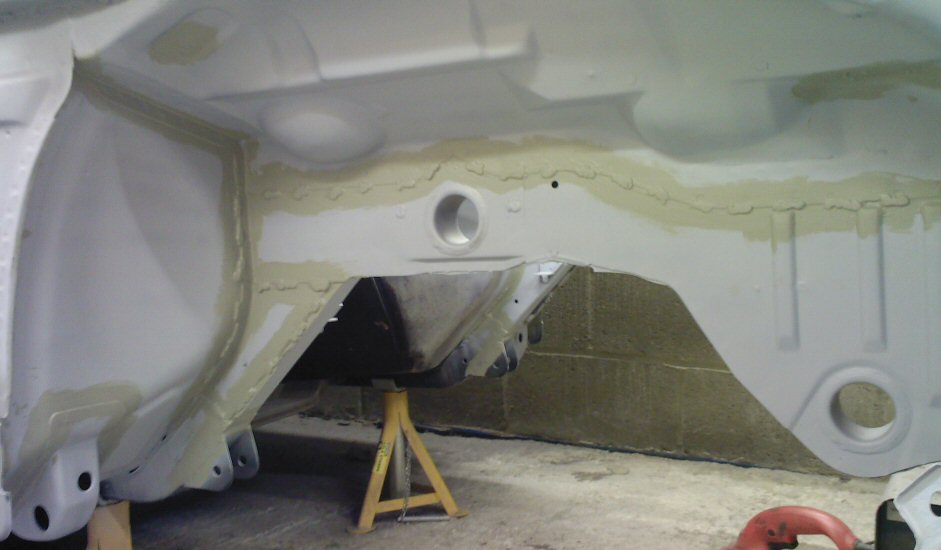
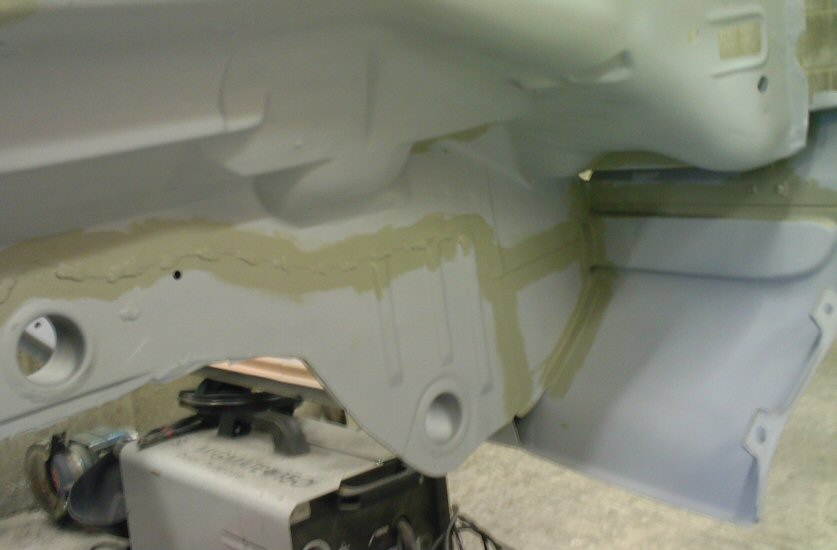
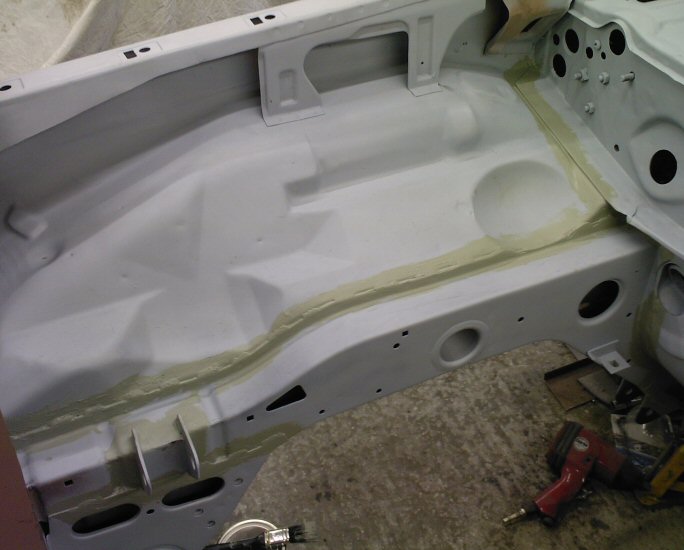
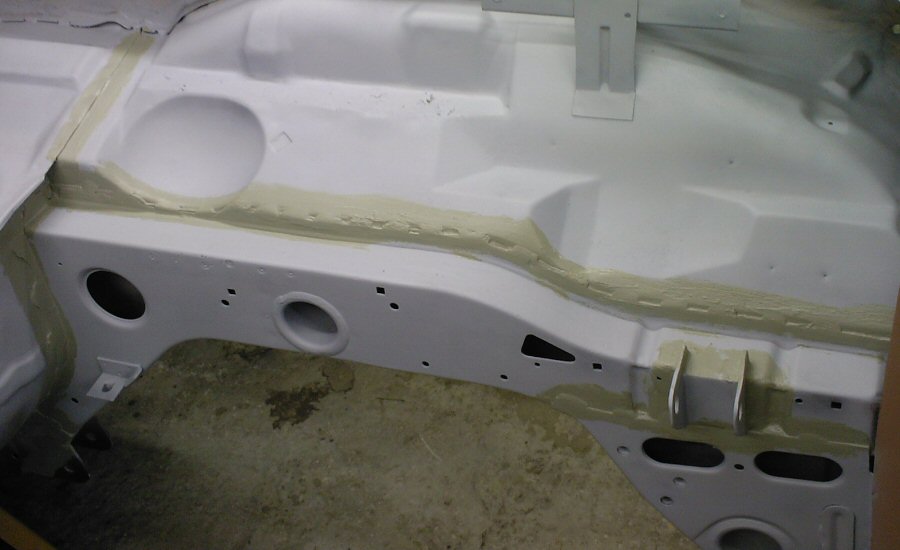
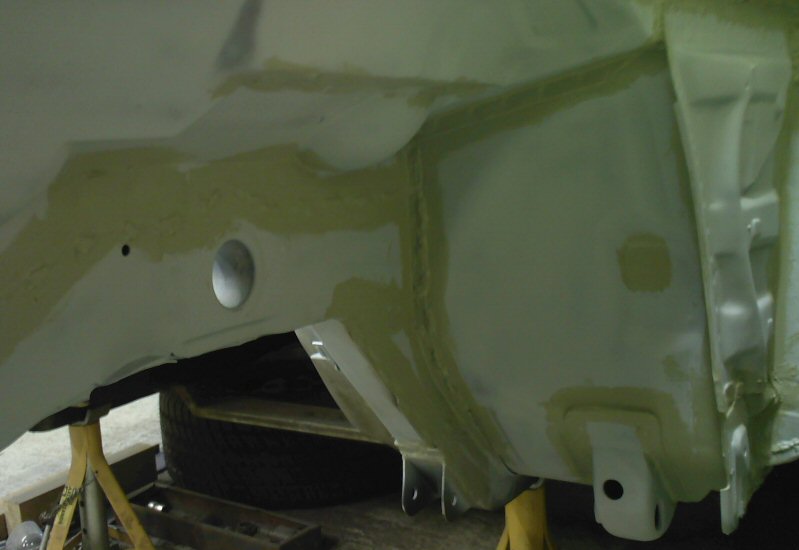
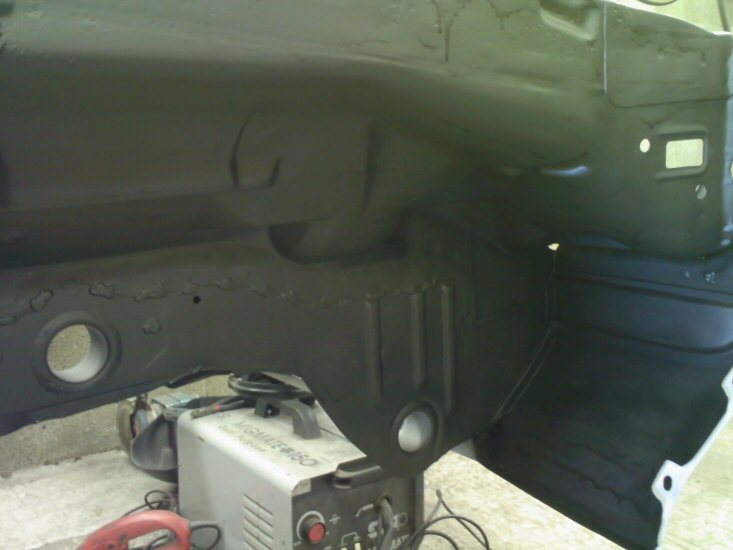
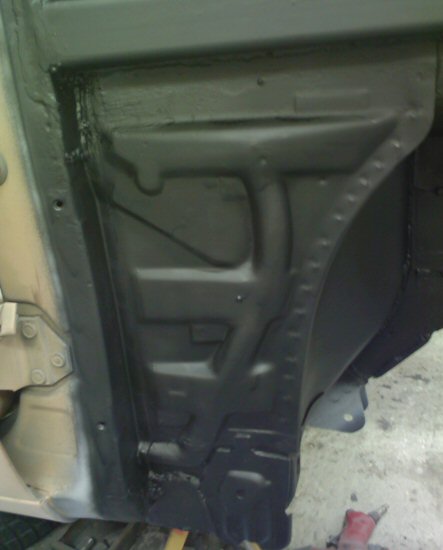
The front end gets a freshen up. A couple of repairs, everything stripped, treated, primed, seams sealed, and arch areas painted matt black. Also, all front end chassis seams stitch welded for extra strength.

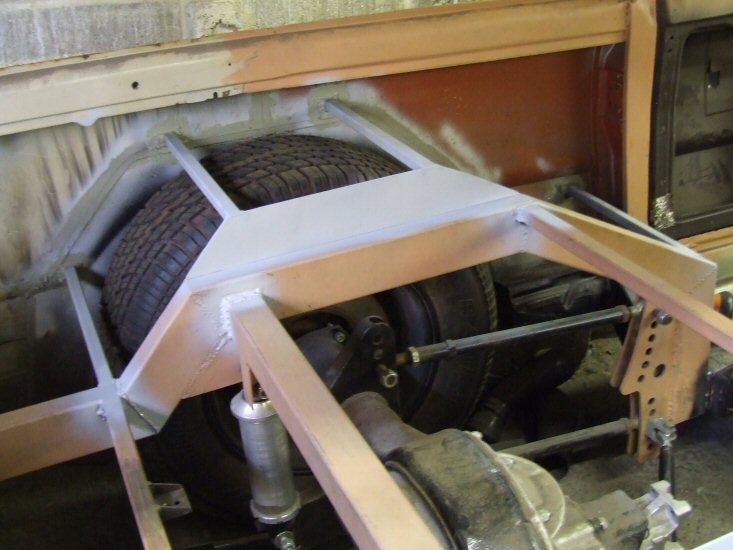
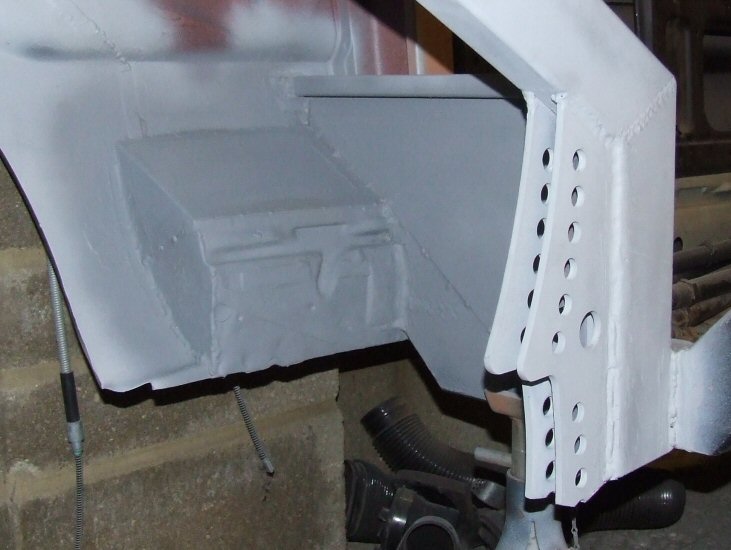
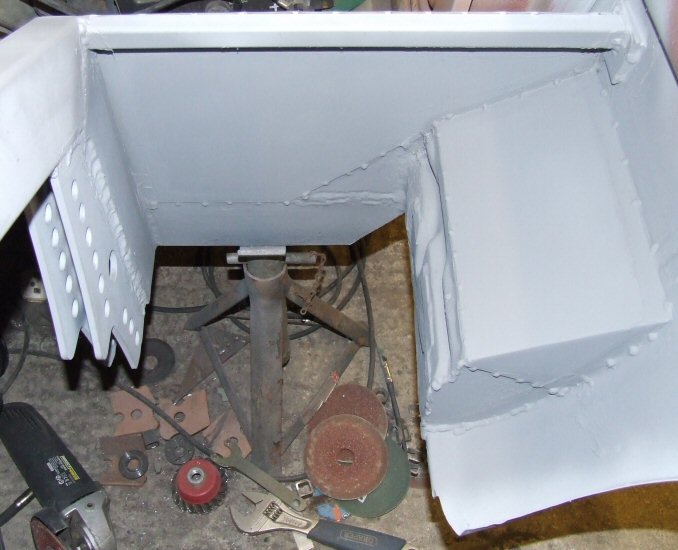
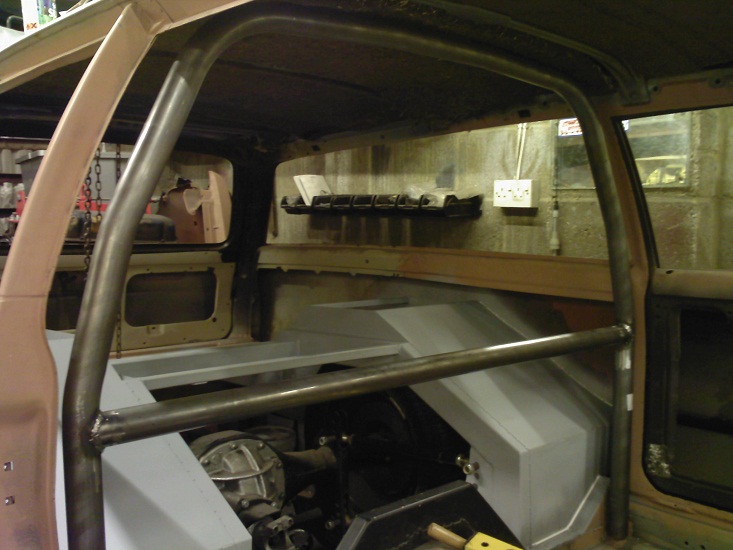
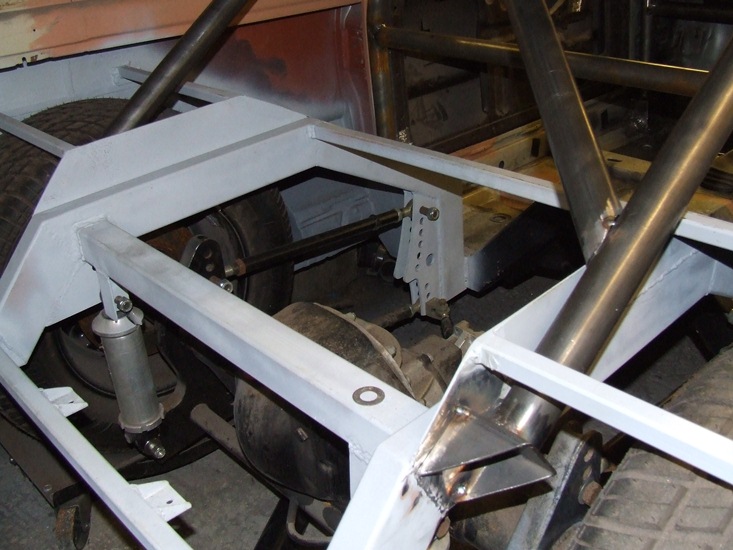
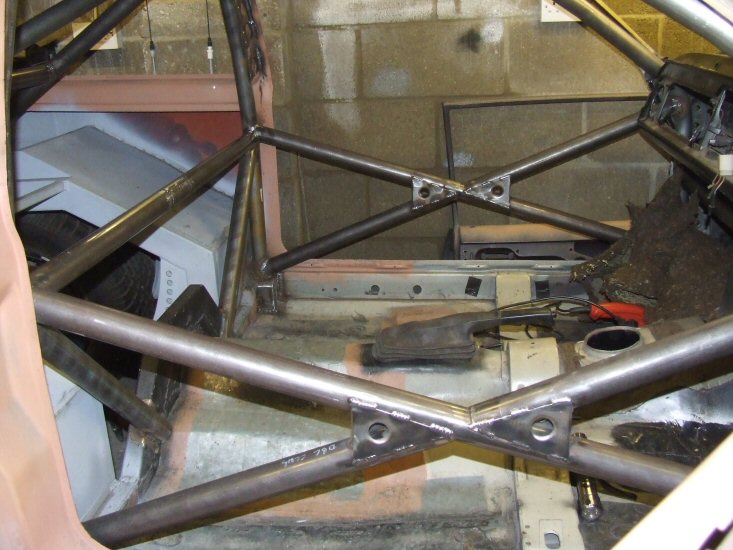
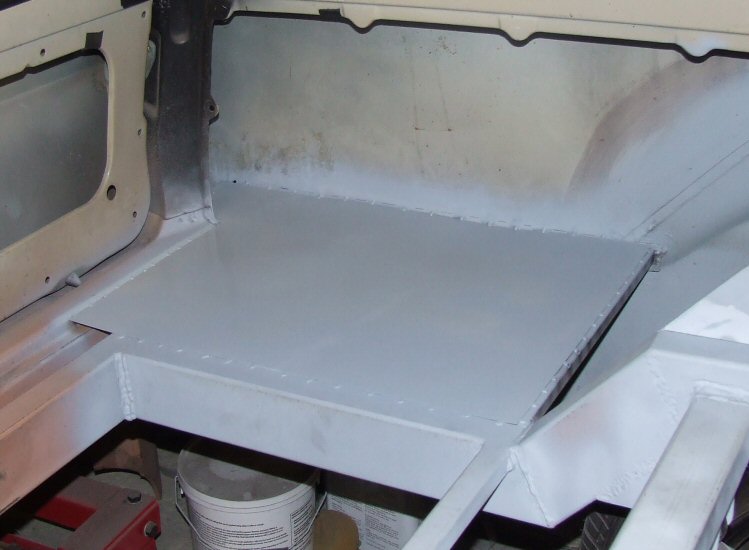
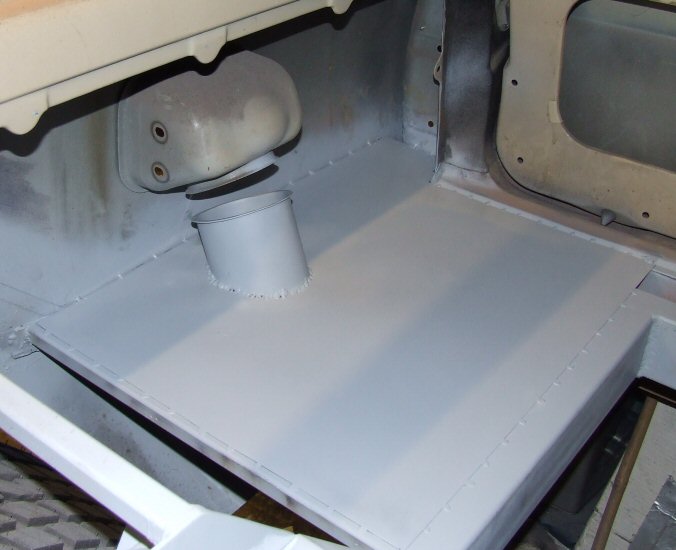
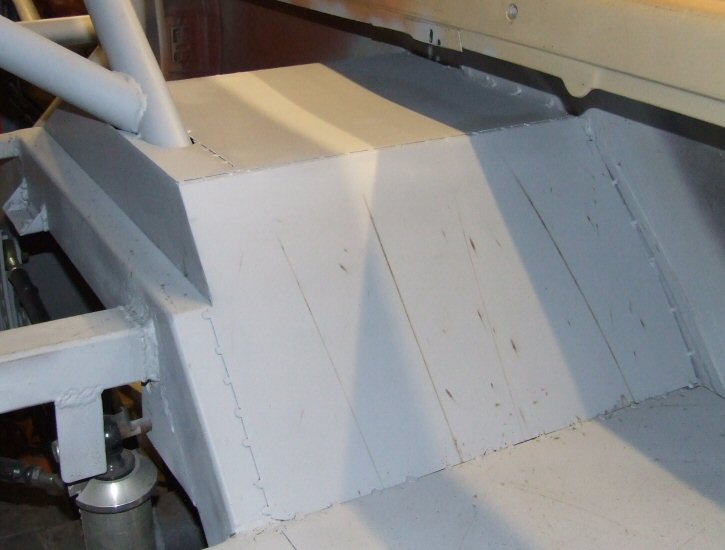
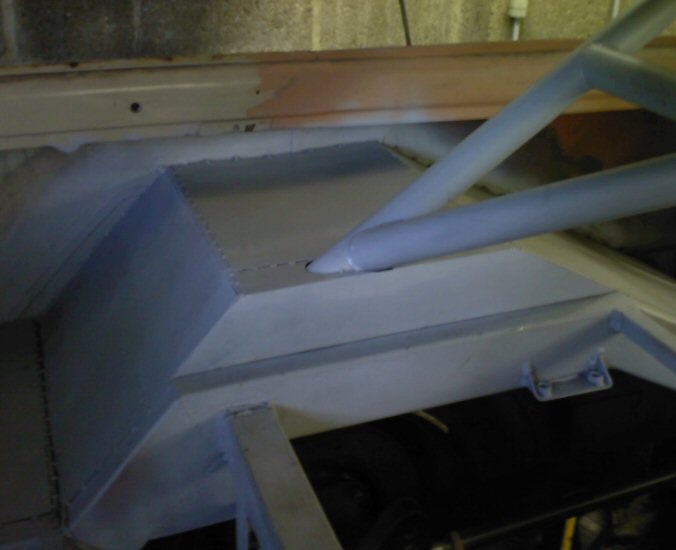
In goes the structure that will support the rear floor, and which also stiffens up the rear quarter panels.
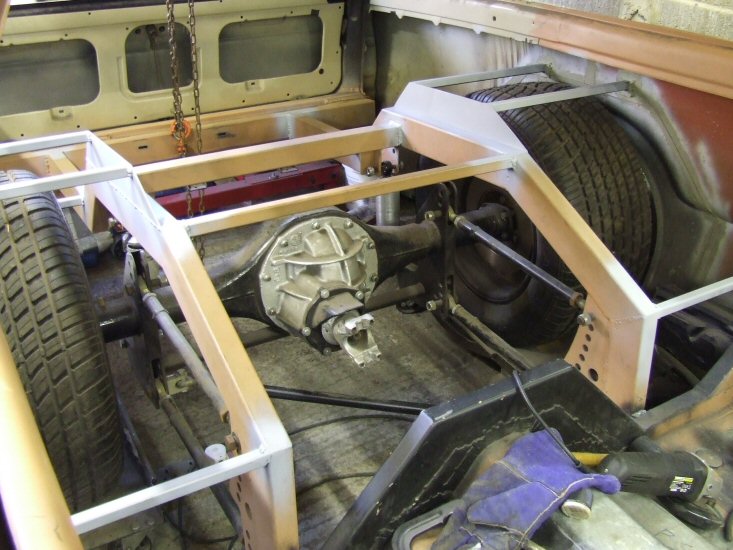
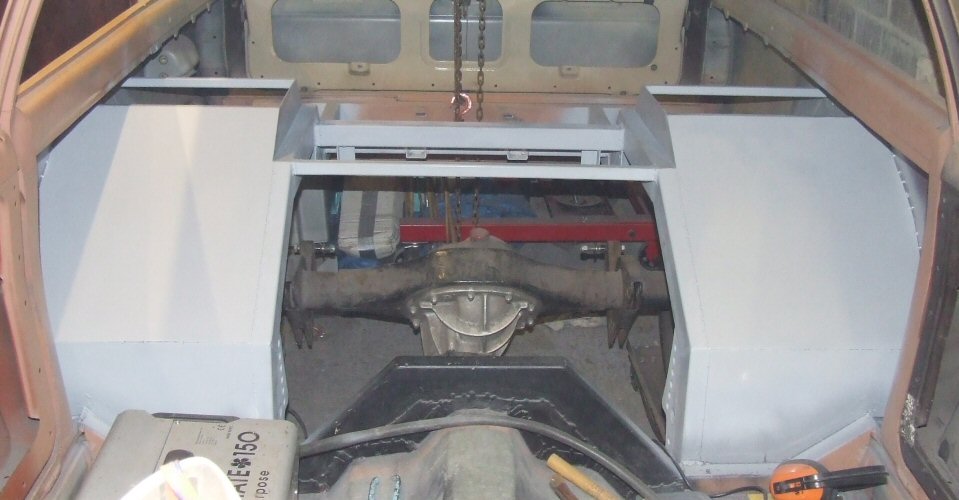
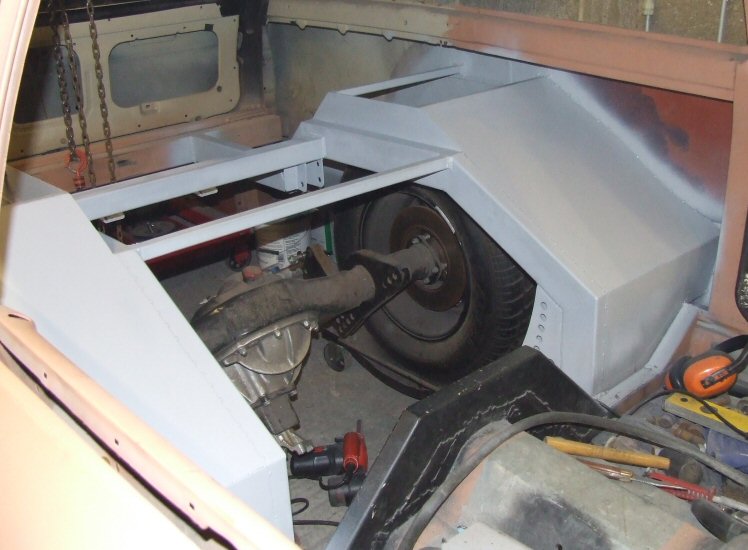
And in goes the sheet metalwork.

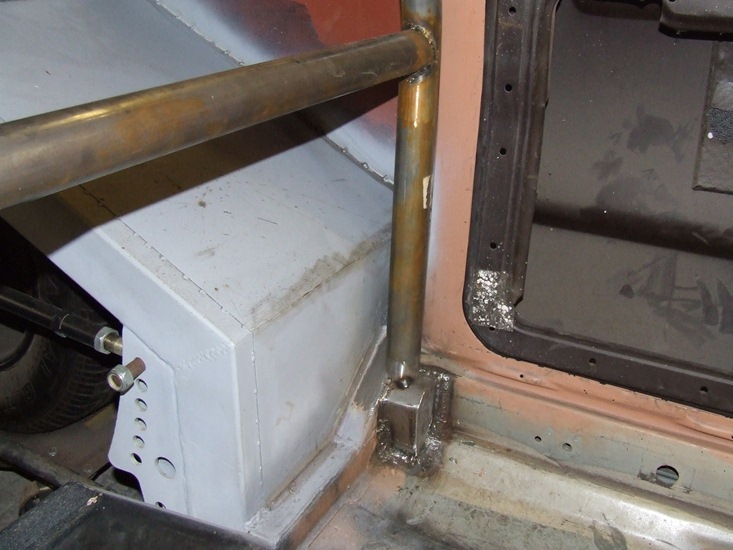
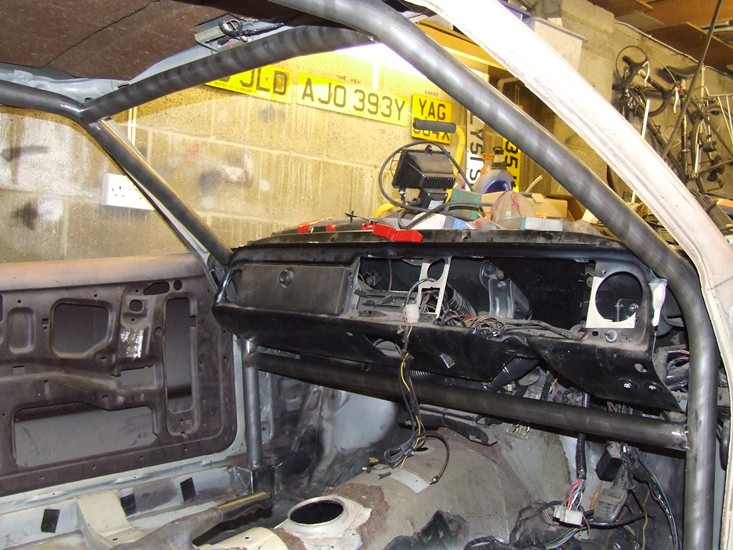
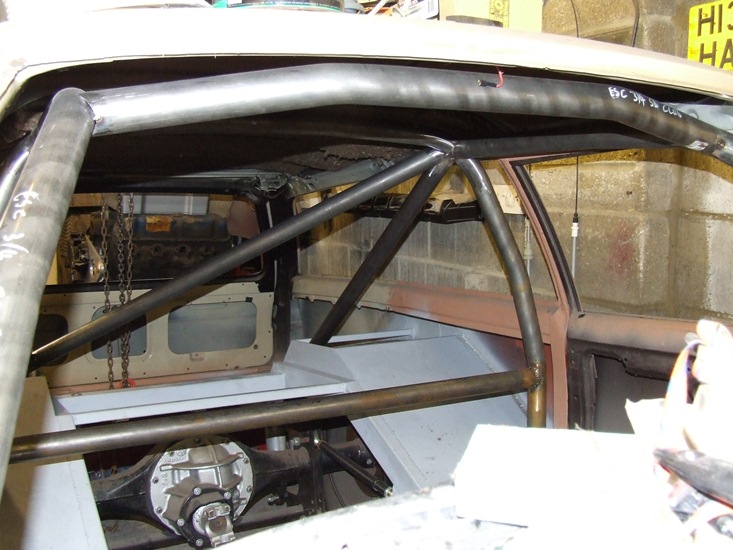
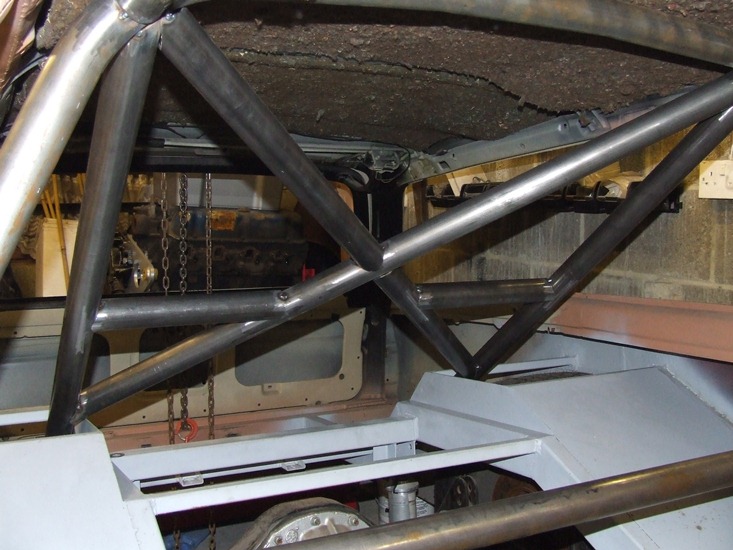
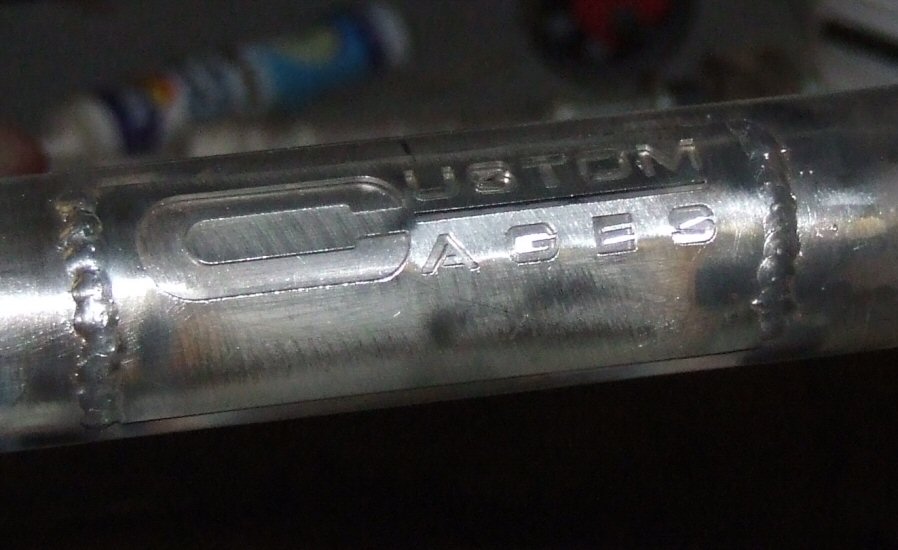
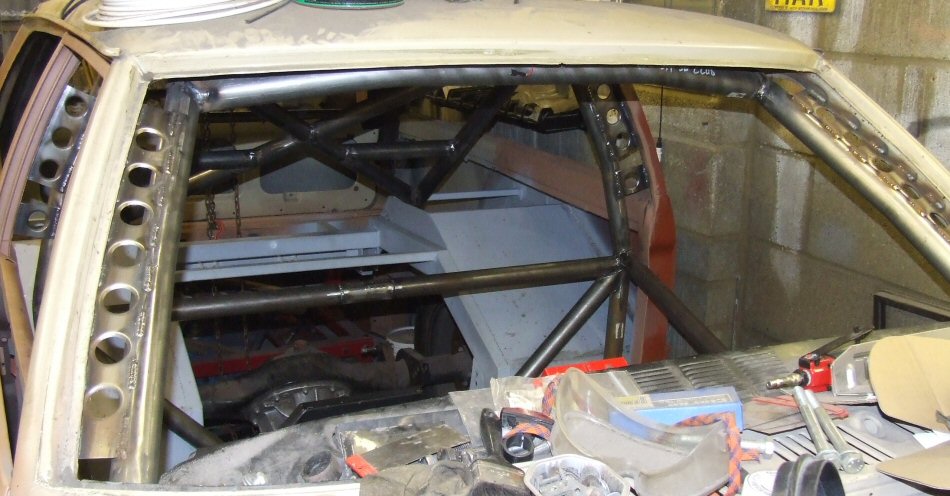
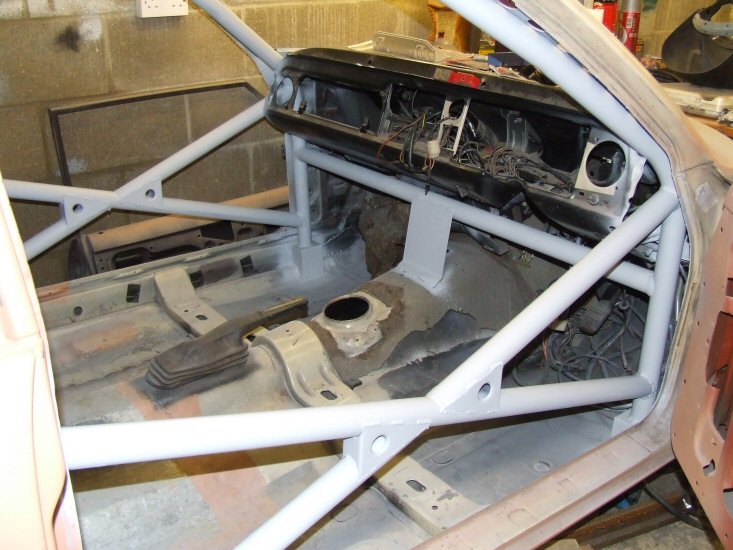
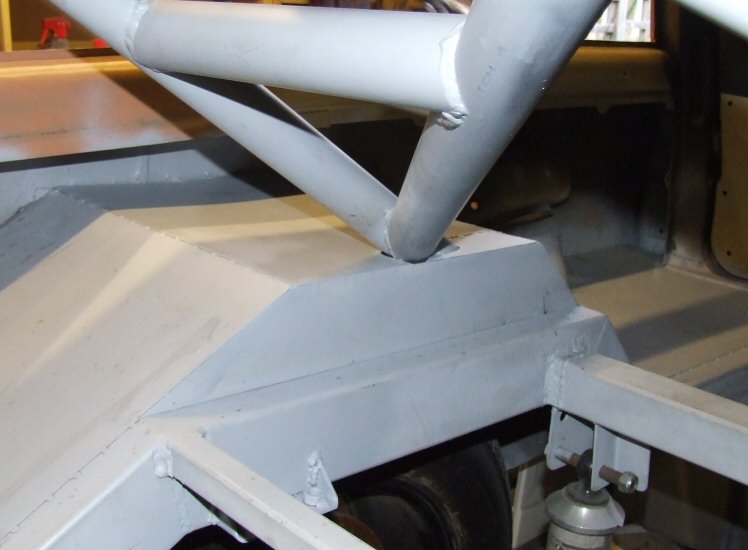
The roll cage goes in.
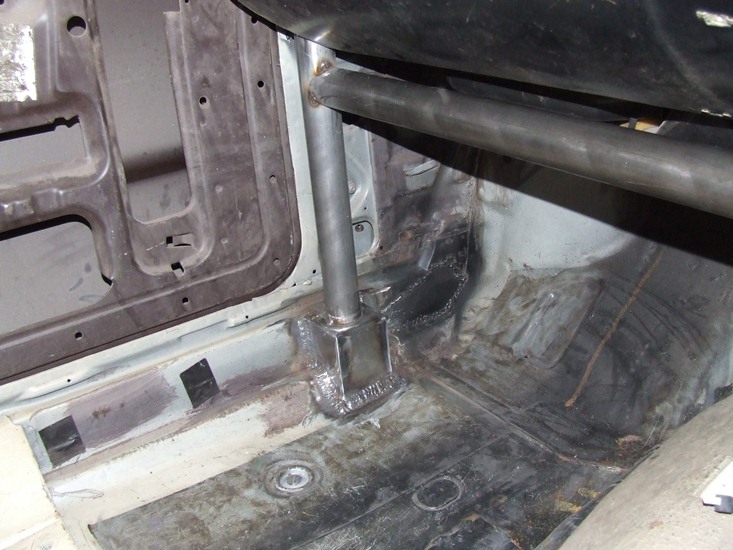
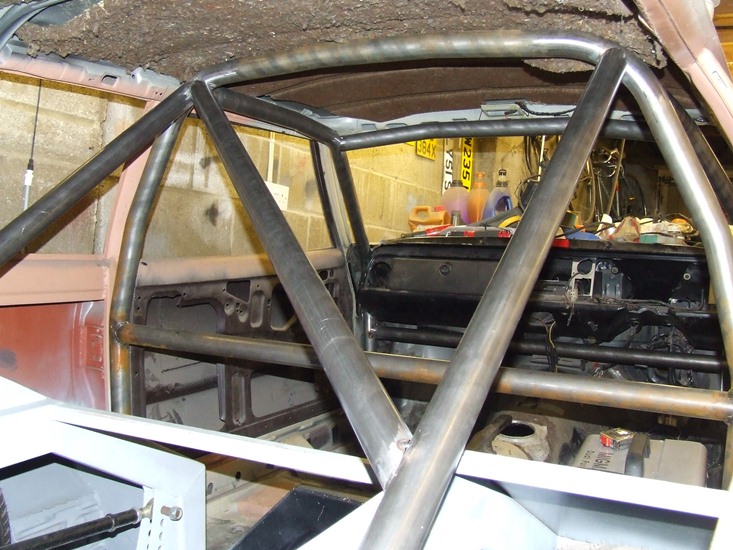
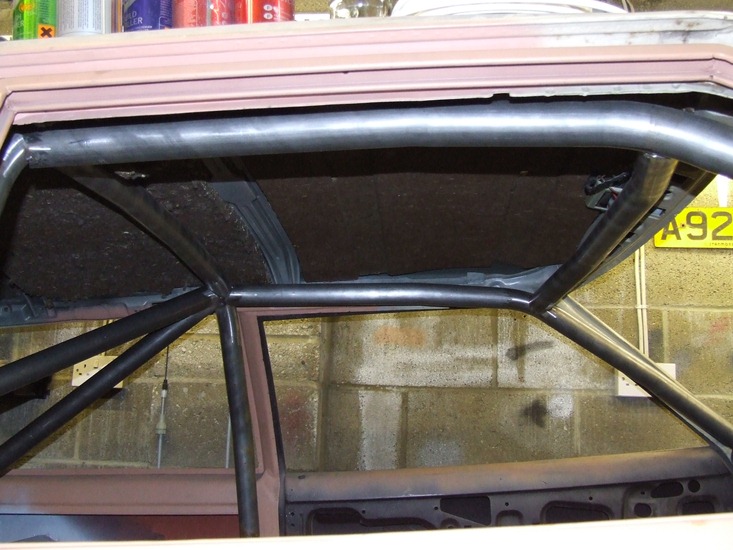
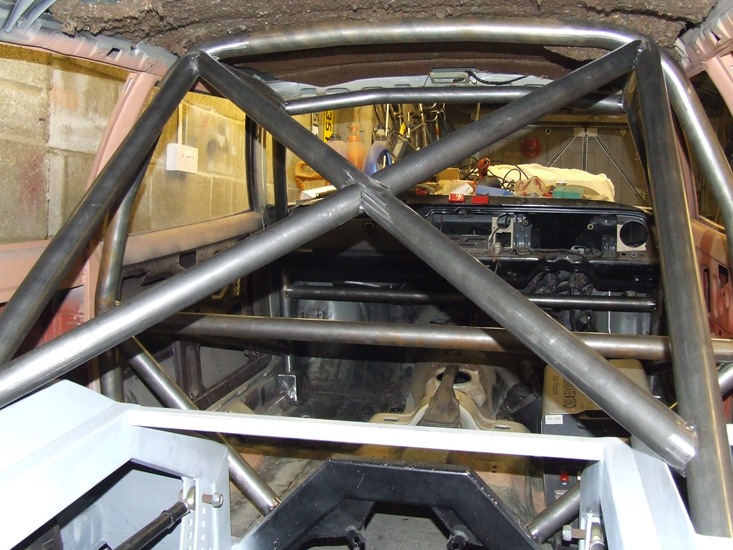
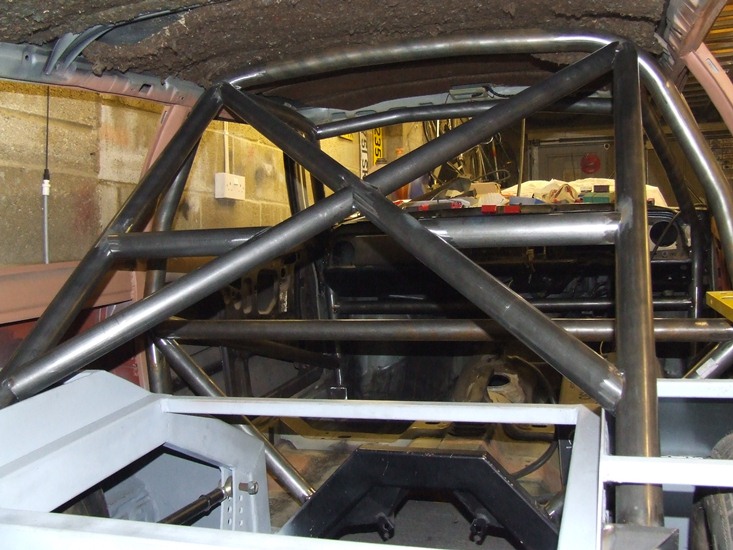
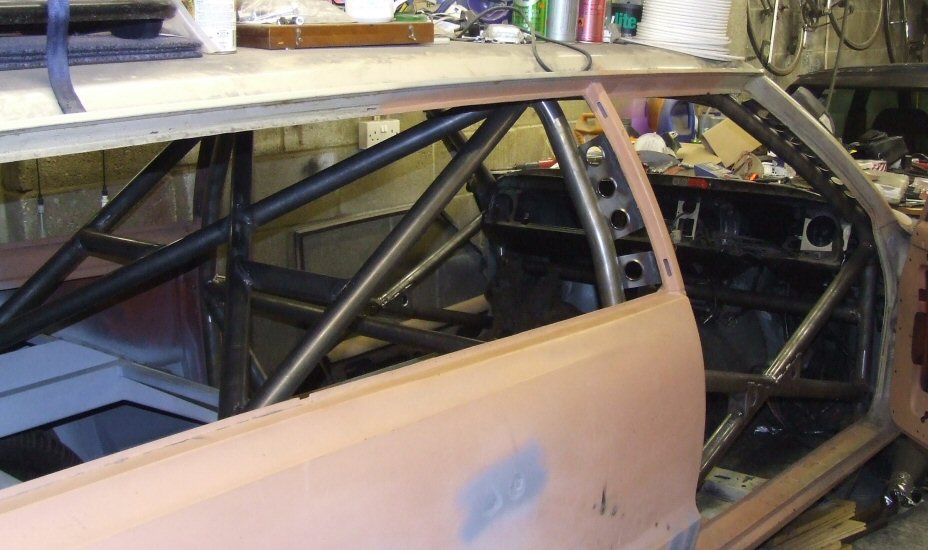
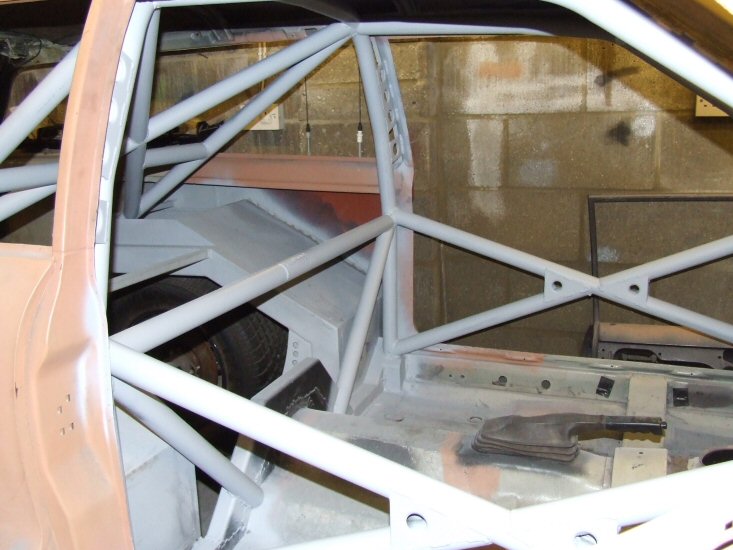
The roll cage gets primered.
The sheet metalwork continues.
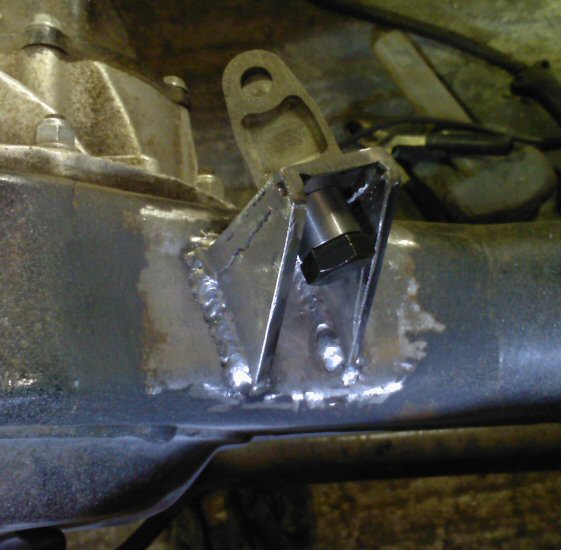
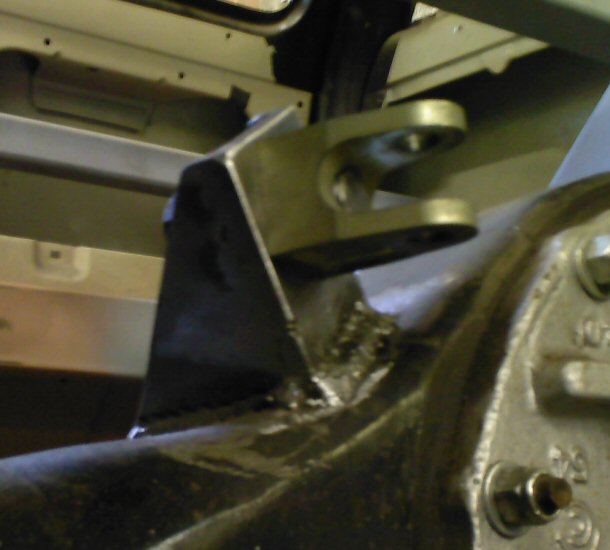
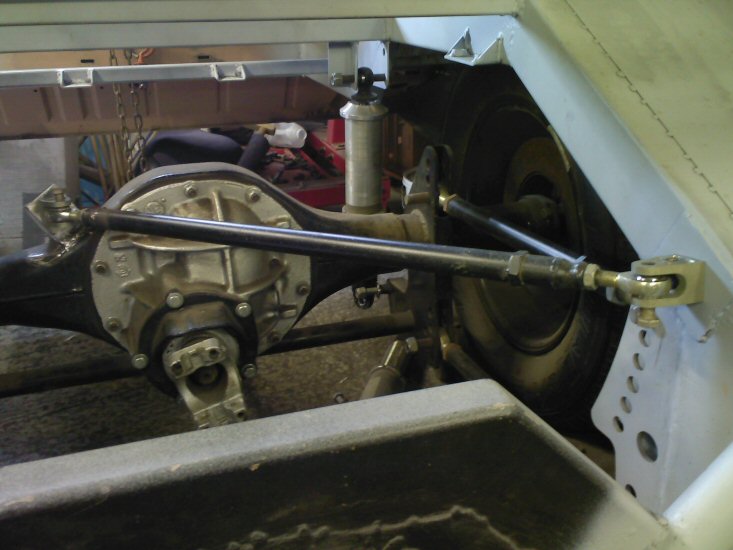
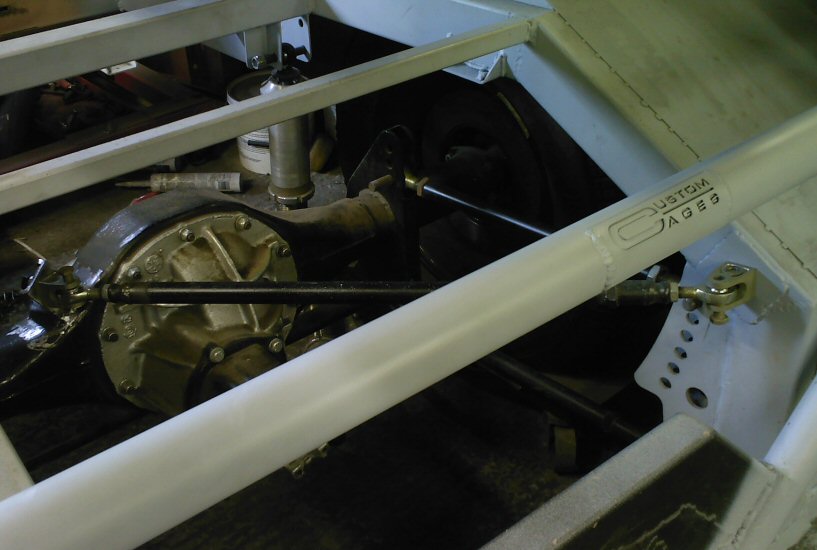
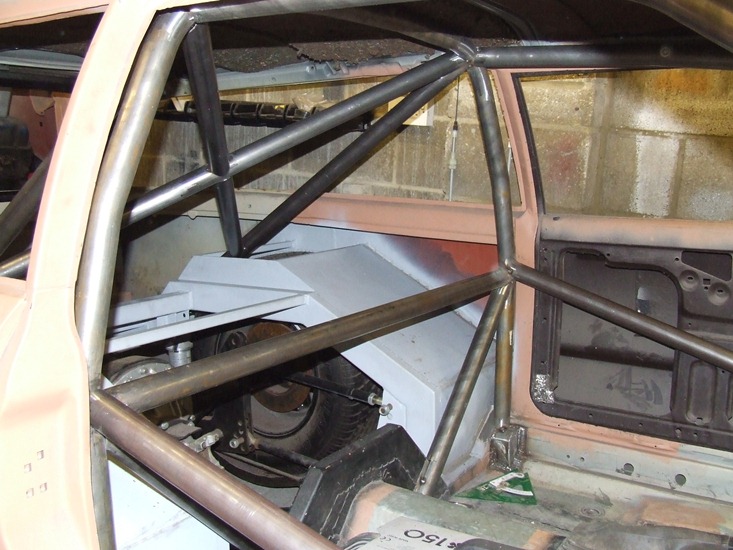
The track locator was found to be completely in the way of the planned exhaust system, so it was moved.