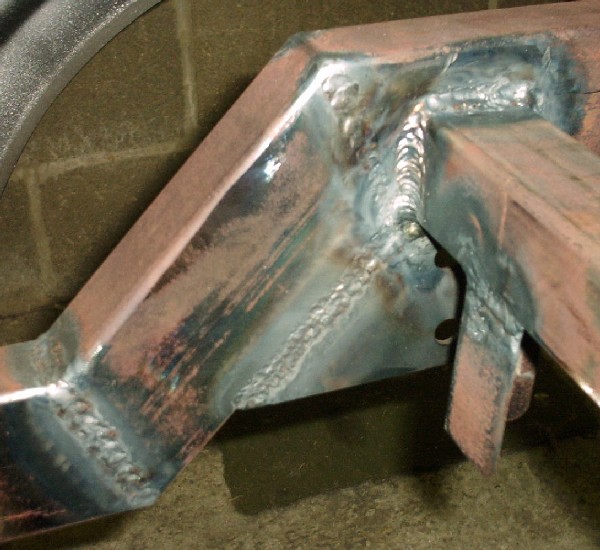
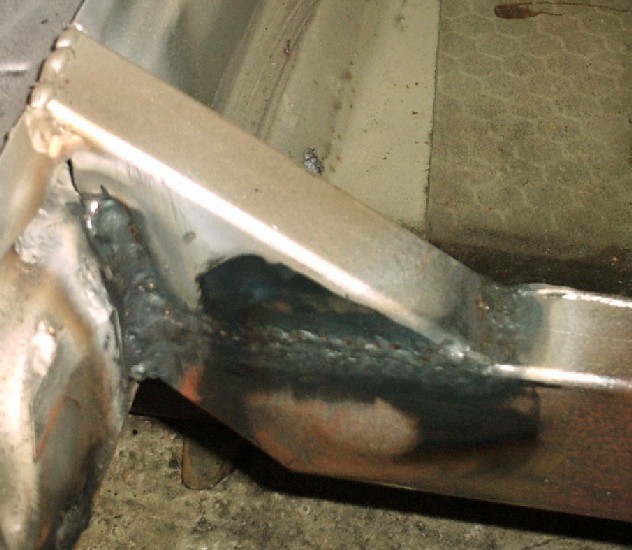
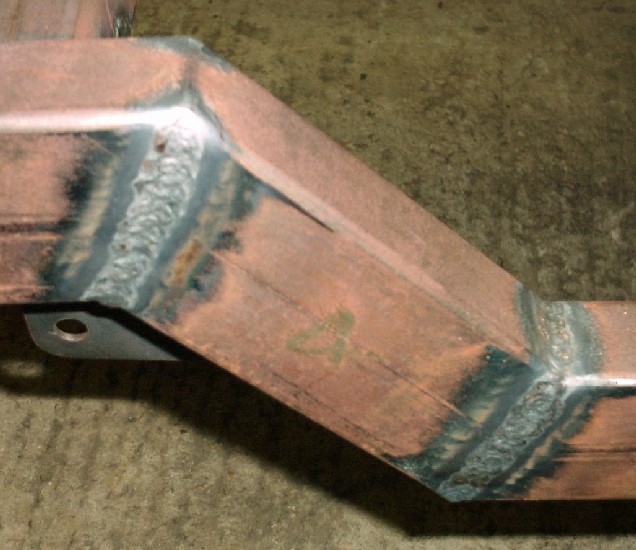
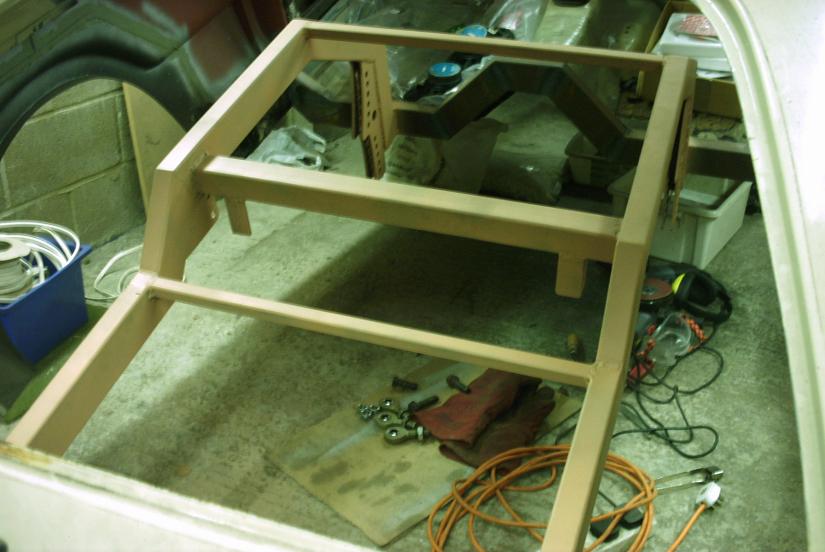
As soon as I laid the welds on the chassis with my MIG welder, I knew that it wasn't giving enough penetration. Turns out there was a problem with the settings, that I did not know about at the time. It could weld thin stuff, but not thick stuff, not even the relatively thin 3mm chassis sections. The welds were definately not up to the job, so I bought an oxyacetylene setup and started to reflow all the main chassis joints. The welder was fixed at a later date.

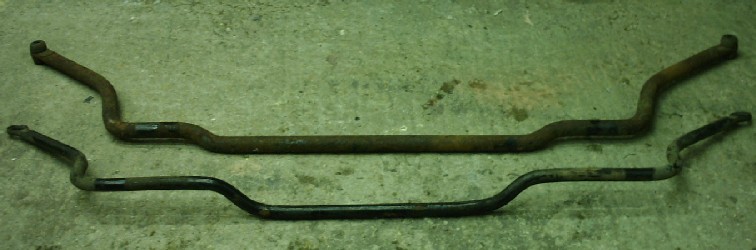
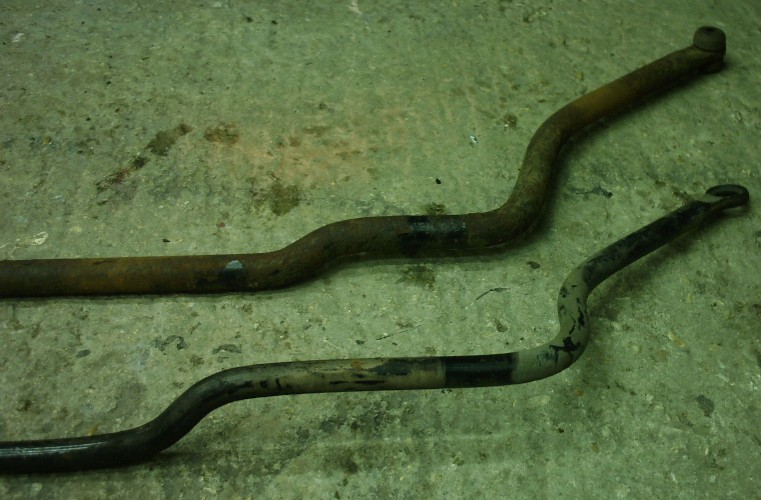
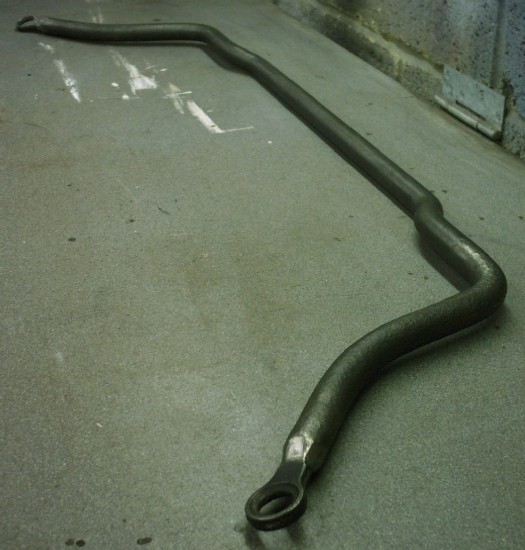
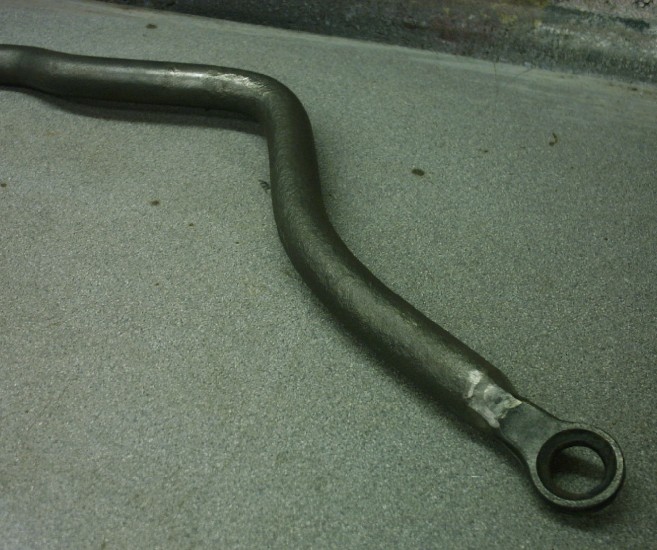
Aside of the main things that needed doing, I started a little project of uprating the front antiroll bar. The standard is normally 18mm, but the Granada uses a 24mm bar, so I modified one using the ends of my 18mm bar.
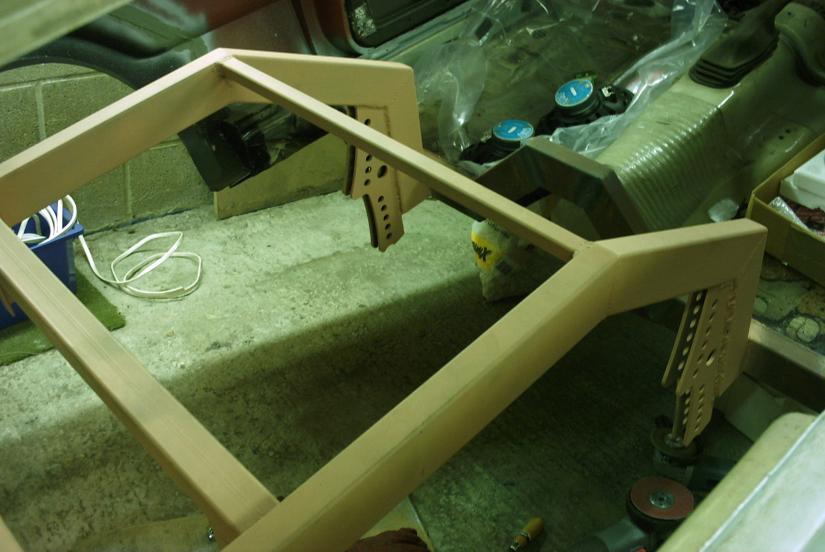
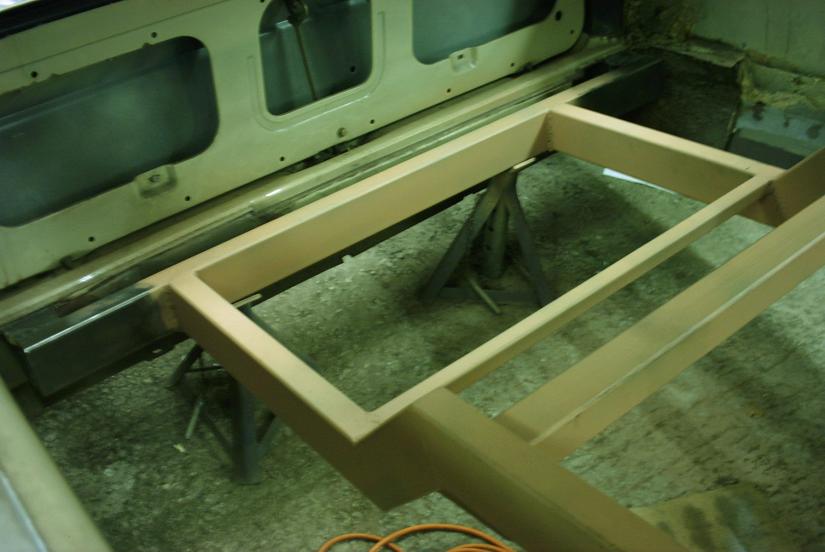
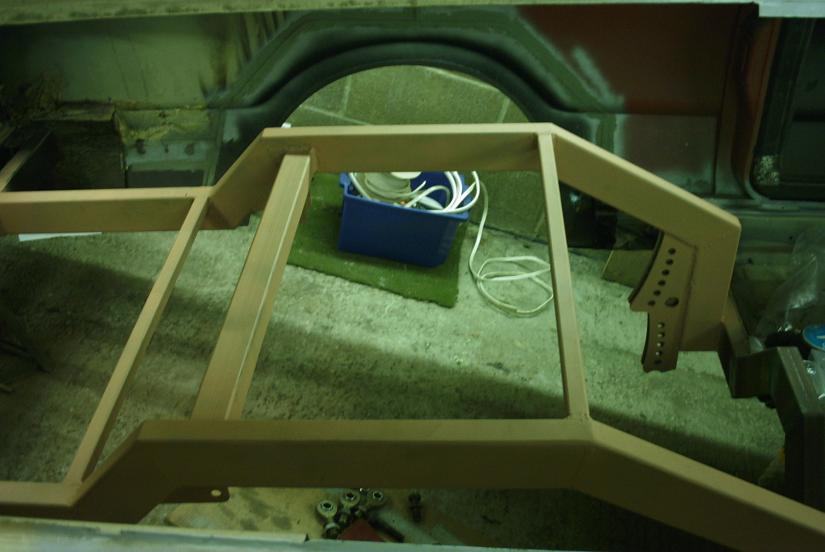
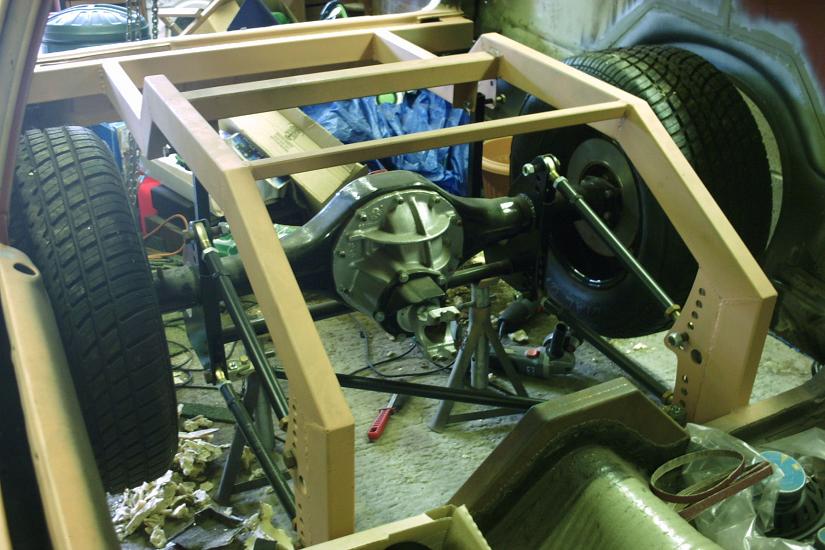
The chassis soon started to look a little more professional.
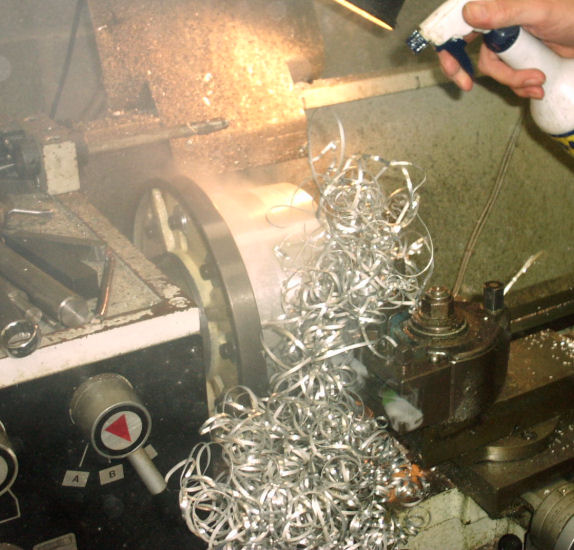
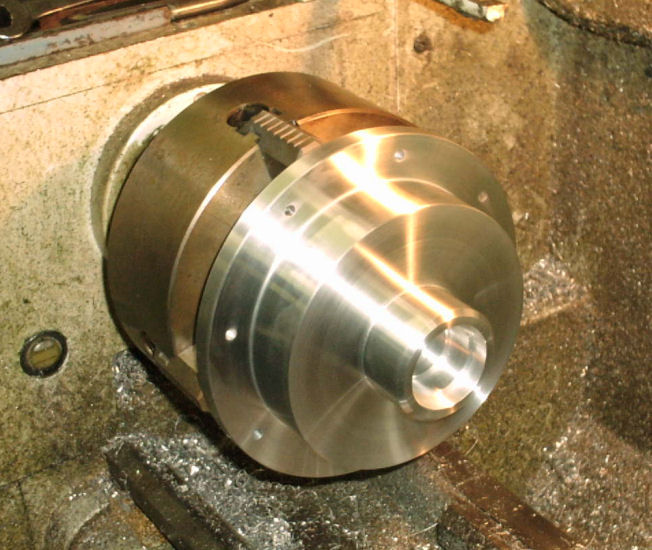
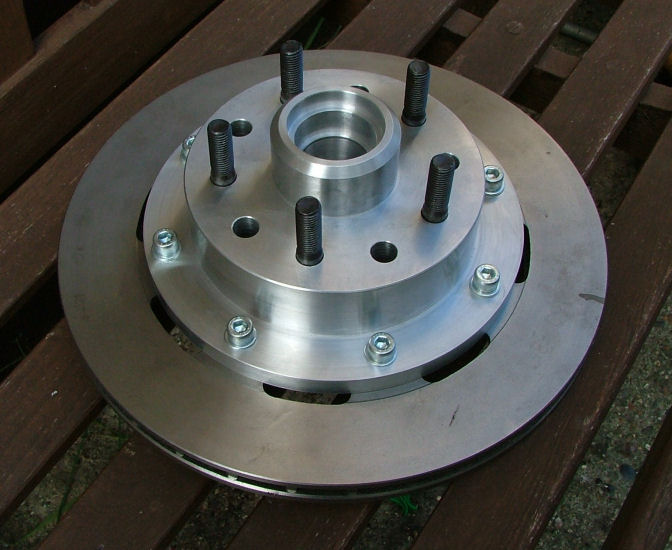
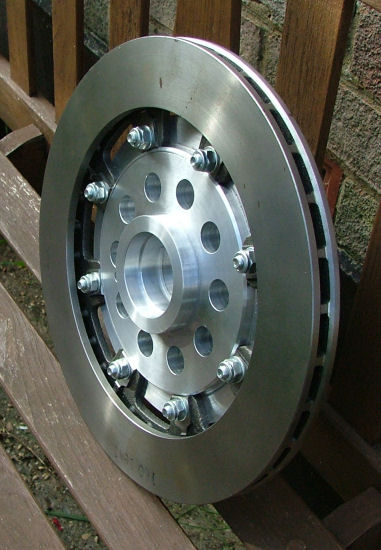
Having changed the front stub axles to five stud Granada items, I had inadvertantly increased the track by 1.5". The solution was to make up a set of custom alloy hubs, with a 0.75" offset to bring the wheels back in. Another reason for opting for the custom hubs, was that it allowed me to mount my new 298mm Wilwood brake discs.
The rear end completely assembled, and just needing a little tidying around the edges.
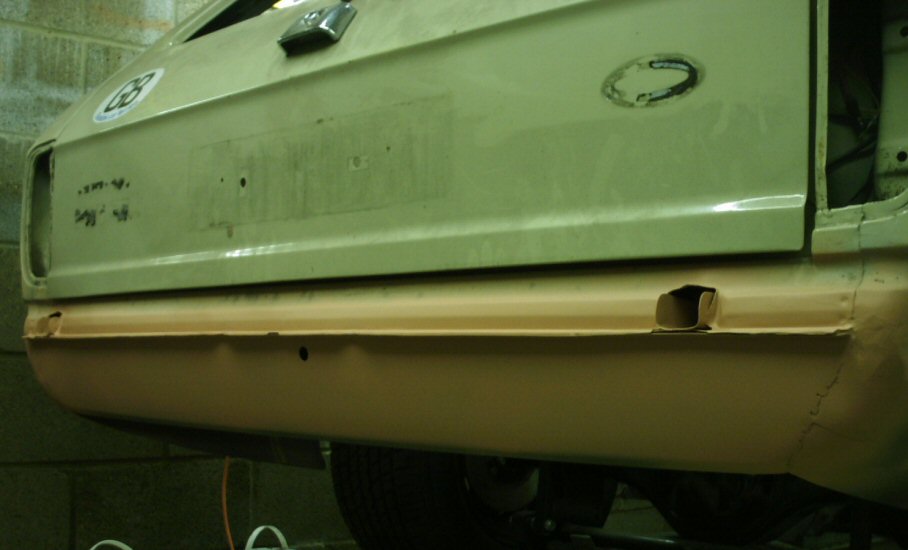
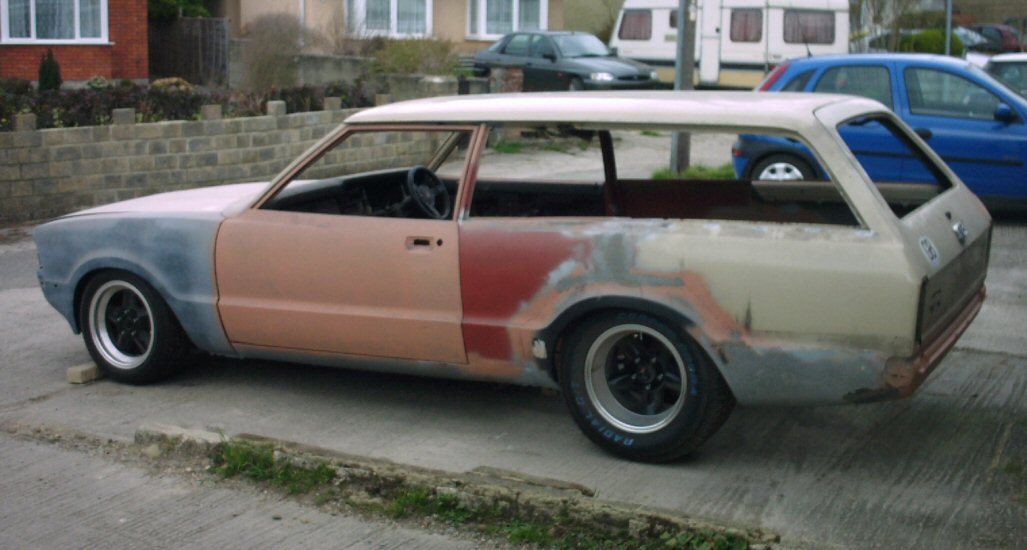
After 5 years without a rear valance, the back suddenly looks a lot better.
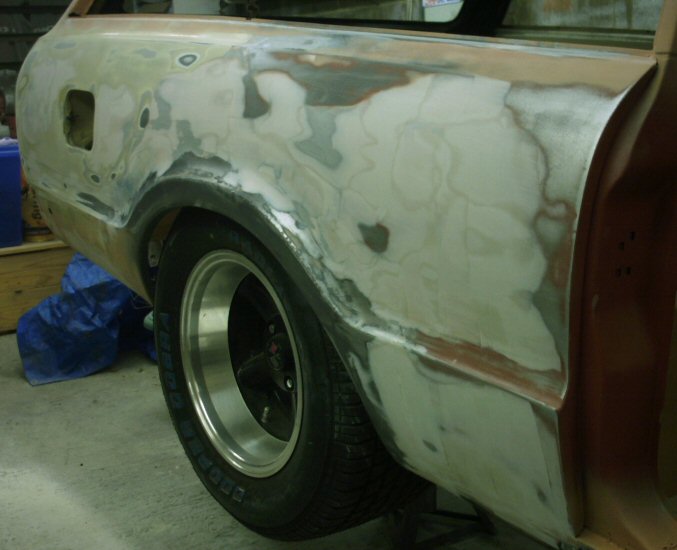
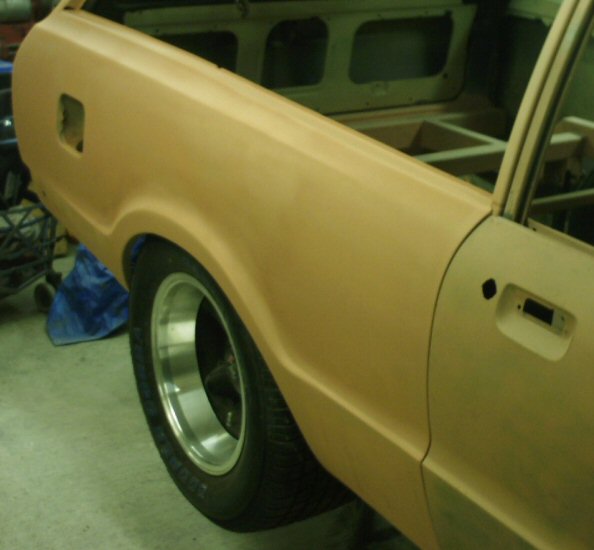
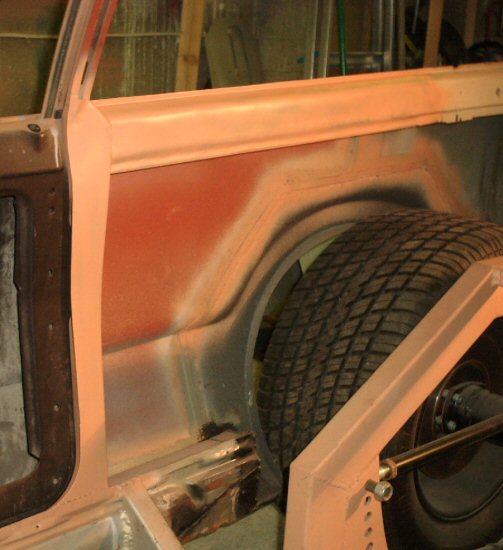
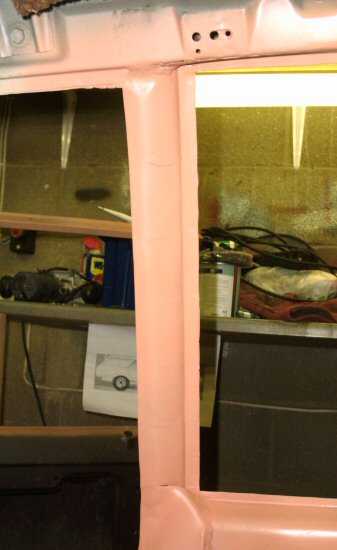
A bit of filler and paint later, and the drivers side rear quarter panel looks really nice. Not perfect, but it will recieve more attention.
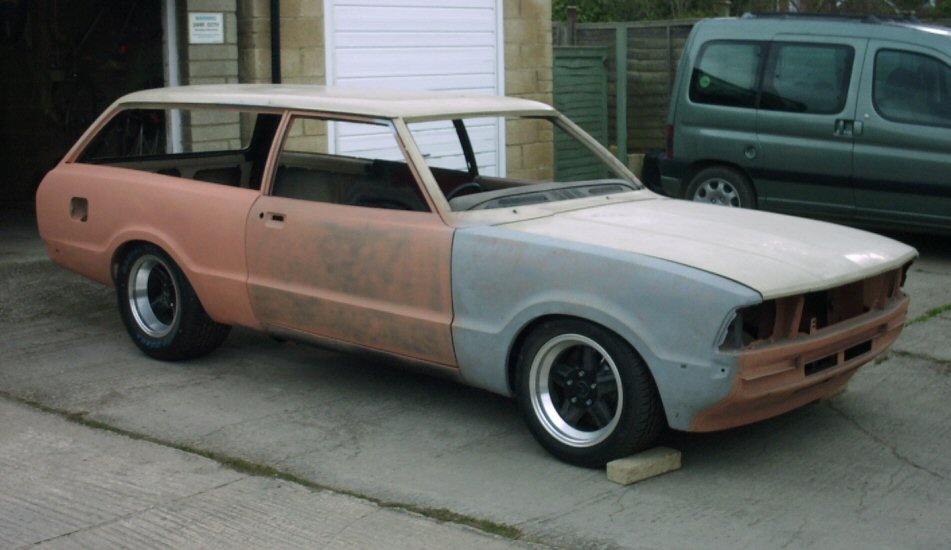
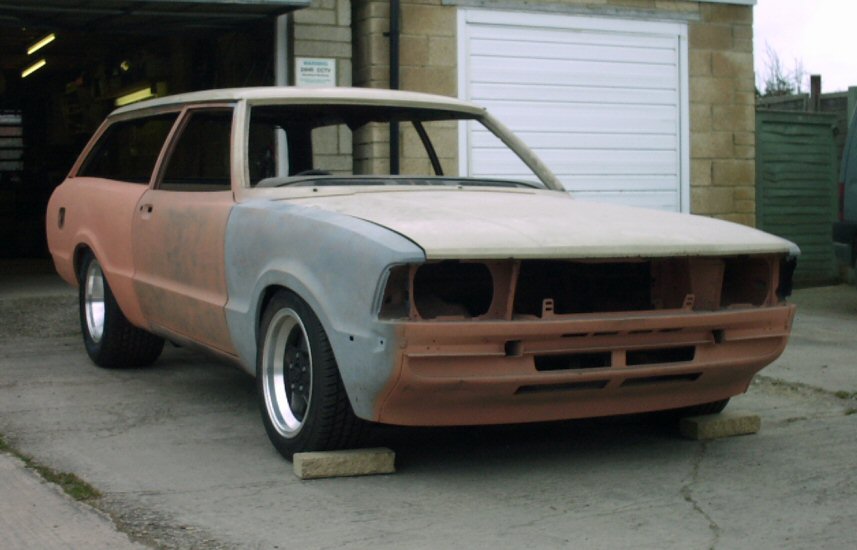
Got the car out of the garage for a Classic Ford shoot, so I took the opertunity of taking a few pics.

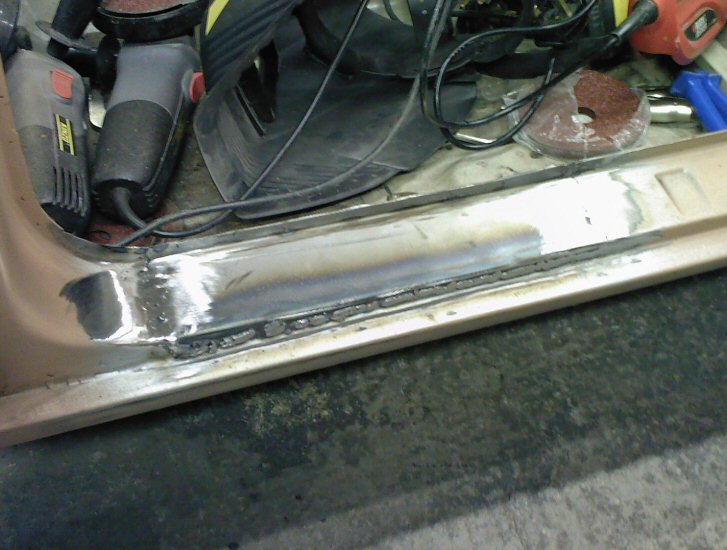
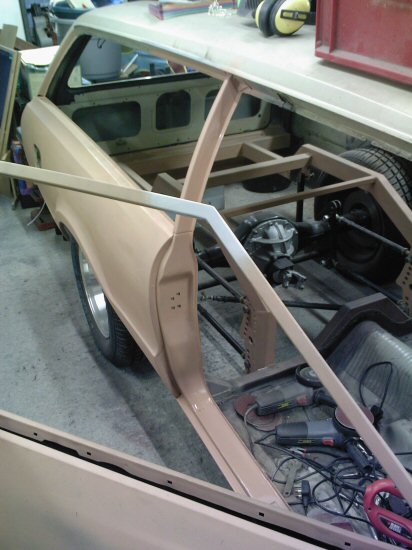
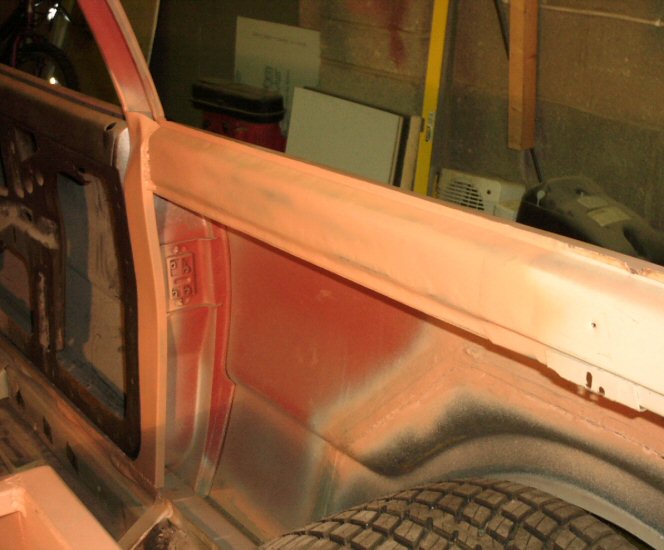
Most of the main panel work is now finished on the drivers side. Just needs an inner skin for the top half of the b-pillar and a minor repair to the top of the sill.
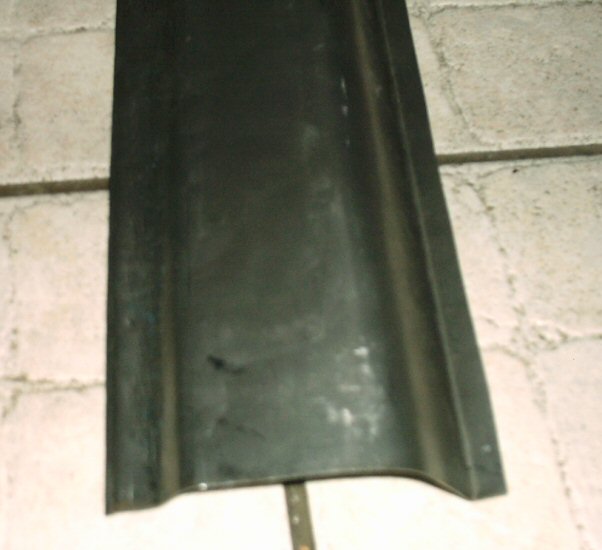
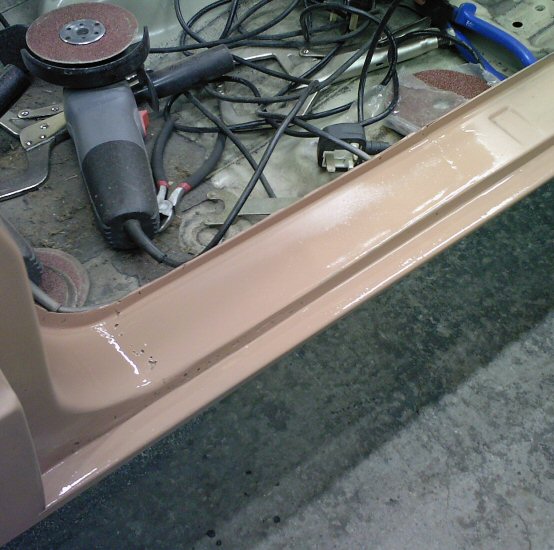
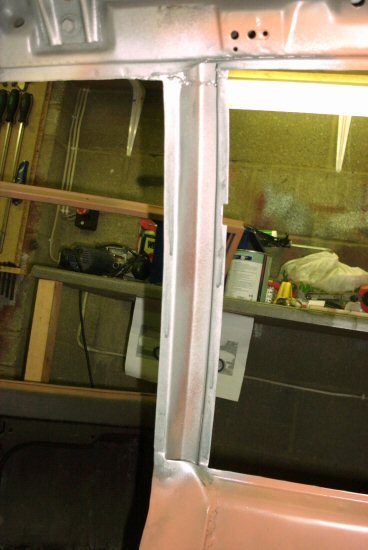
Inner skin for the top half of the b-pillar done.
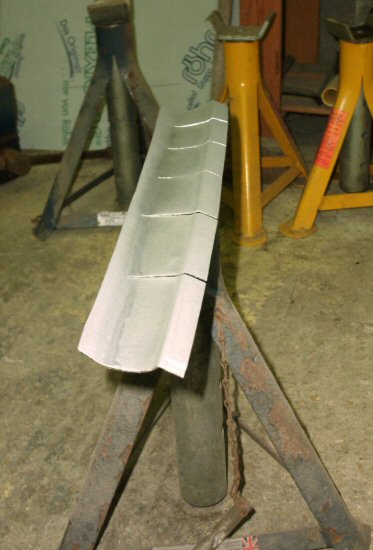
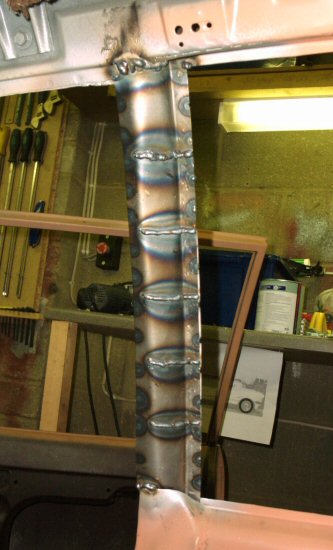
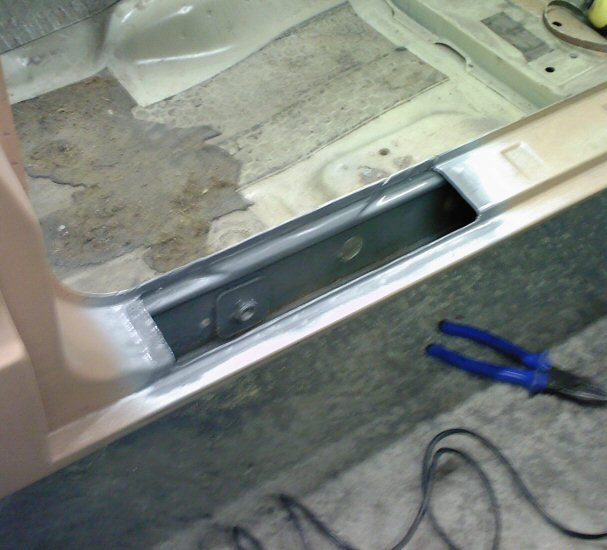
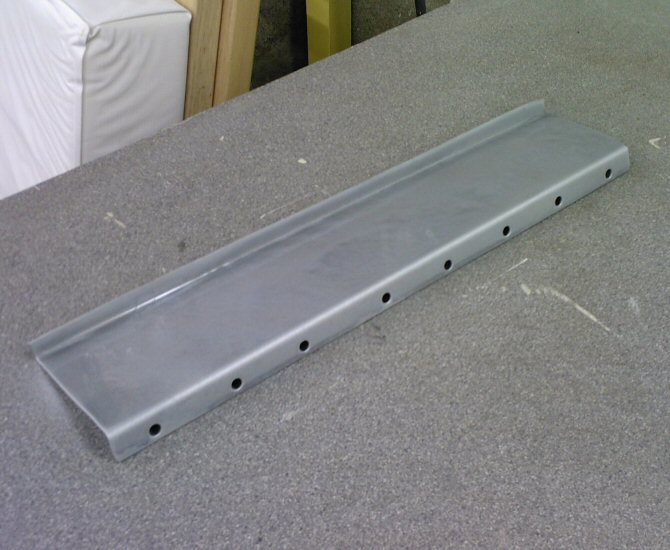
The upper part of the sill was badly damaged when the original b-pillar was removed, so a new section was put in.